| FILTER DATA ACCESS |
Principle
This area displays the following information:
The following paragraphs detail the available functions :
| Filtering access to data |
Principle
Options and Rights
Several options and rights allow applying some restrictions on a list of drawings that can be displayed in Engineering Drawings.
- Firstly, you can only access a drawing matching the list of aircrafts you operate, own or maintain (generally your fleet).
- You can select a program to limit the access to some documents (sheets, Parts List, Tool Equipment index (TEI)).
- You can select a MSN number in a Program to restrict information output (TEI related to a MSN for example).
- You should have specific rights to view some documents. For example the "Detail Drawings" or "Unreferenced Drawing" have a restricted access. In regard to your contract you have or do not have access to this drawing sub-set.
- You should have a specific right to view the Tool Equipment drawings.
These criteria allow you to focus on the specific information concerning just a program or aircraft in your fleet.
Access to Drawing Information
When you select a program then:
- The "TEI" part one describes all the Tool Drawings detailing a Part Number for the selected aircraft type.
- The "TEI" part two describes all the Tool Part Numbers detailed by a Drawing Number for the selected aircraft type.
When you select a MSN or a registration Number and a program then:
- The "TEI" part one describes all the Tool Drawings detailing a Part Number for the selected aircraft type.
- The "TEI" part two describes all the Tool Part Numbers detailed by a Drawing Number for the selected aircraft type.
| To View a Drawing Picture |
Principle
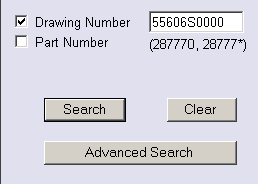
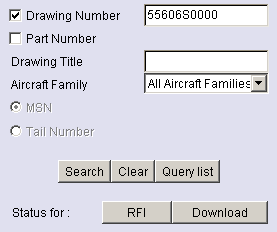
To view a drawing, you have to enter the drawing number into the reference field of the main query area.
The "Search" option launches the search and then displays the drawing pictures related to the reference that you have entered.
 |
 |
|
Main query Area example
|
Advanced query Area example
|
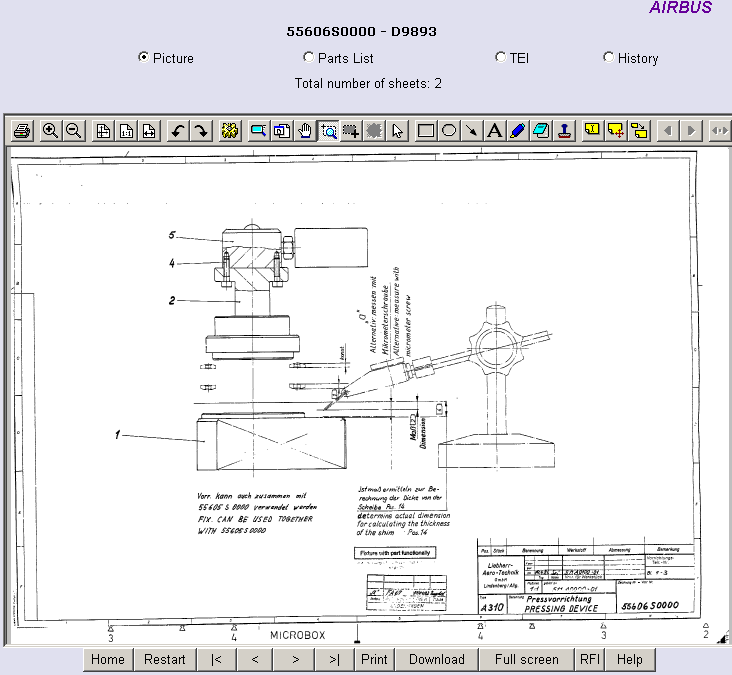
When you ask for Drawing Pictures in the query area you can view all its sheets. A drawing sheet may be composed of several frames.
Note: several viewers are available and validated by Airbus to display Drawing Pictures.
Scope
The following elements are displayed:
The contextual area is updated according to the current drawing.
- The drawing number with its FSCM and the drawing title
- 4 options: Each option allows to switch and to access the selected document in the current Drawing Set.
- Pictures: Access to pictures
- Parts List: Access to the Parts List report (it is a specific picture)
- TEI: Access to the Tool Equipment Index
- History: Access to the Drawing Set History (available for authorized users)
- The total number of sheets composing the current Drawing Set.
The viewer's options allows to perform actions on the displayed picture: zoom in, zoom out, viewing the full image, printing it or displaying the next frame and so on. Annotations can be added without altering the original Airbus drawing.
This is an example of a Tool Trawing sheet displayed in the viewer "TMSSequoia PrizmOCR Plug-in"
Remark: To print a drawing you can also use the specific convenient print option of the button bar that adds a date stamp to the drawing pictures when they are printed (see To Print a Drawing Set chapter for details about this option).
How to display different sheets composing a drawing?
In the button bar, below the current sheet picture on screen, some buttons are displayed:
- |<: When you click on this button the sheet picture 001 is displayed (first sheet)
- >: The following sheet is displayed (002, then 003 and so on)
- <: The previous sheet is displayed (003, 002 and so on)
- >|: The last sheet composing the drawing is displayed
Another possibility to display a sheet picture is to select one sheet in the Tree Area.
The tree area is displayed in the bottom left side of the screen. The current drawing composition in sheets is displayed in it.
Just by clicking on one of these sheets the corresponding picture is displayed. It is possible to directly select any sheet among the drawings already listed in the tree area.
| To view a Parts List |
Principle
You can display those documents by clicking on the corresponding option in the contextual area.
- Enter the reference
- Click on the « Search » button to display the pictures
- Click on the « Parts List » option in the Contextual area
 |
|
Main query area
|
This is an example showing the Parts List for the drawing 55606S0000.
Remark: For the Tool Equipment Drawing family, the Parts List is a picture with a sheet number started by S. So, you can also consult it through the Pictures option.
Scope
The following elements are displayed:
The contextual area is updated according to the current drawing.
- The drawing number with its FSCM and the drawing title
- 4 options: Each option allows to switch and to access the selected document in the current Drawing Set.
- Pictures: Access to pictures
- Parts List: Access to the Parts List report
- TEI: Access to the Tool Equipment Index
- History: Access to the Drawing Set History (available for authorized users only)
- The total number of sheets composing the current Drawing Set.
The Parts List is a Tool picture.
The viewer options allows to perform actions on the displayed report: zoom in, zoom out, displaying the next page, printing the document and so on. Annotations can be added without altering the original Airbus document.
| The TEI option |
Principle
This option allows you to display the Tool Equipment Index (TEI) of a Part Number (TEI Part one) or a Drawing Number (TEI Part two).
The TEI includes all the Tool Drawings for a program (Aircraft type A319/A320/A321, A330/A340, A300-600/A300).
So, to have access to the TEI report, you must select an aircraft family (A319/A320/A321, A330/4340, etc...).
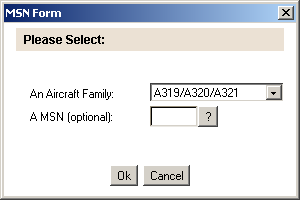
According to the selected check box (Drawing Number or Part Number), you can obtain the part one or the part two of the TEI:
Each TEI includes a complementary information paragraph. This part is composed of two groups of information.

Example of the list of modified sheets
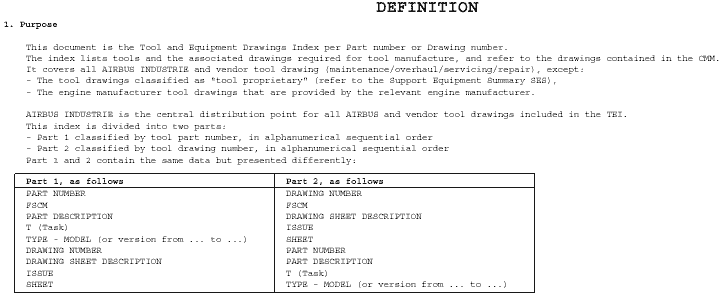
Examples of TEI definition
Principle
 |
 |
|
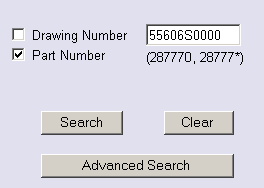
Main query area
|
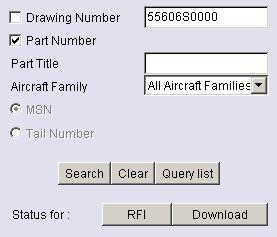
Advanced query area
|
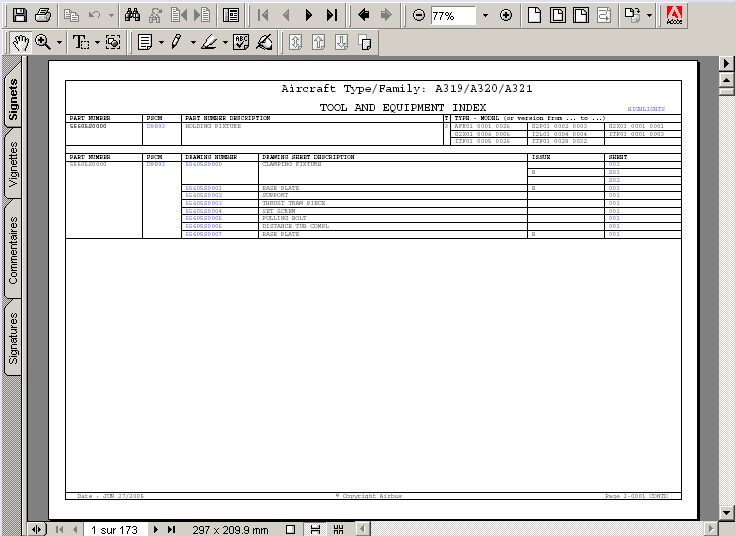
When you click on the search button and if the "Part Number" checkbox is checked, the list of drawings describing the Part Number are displayed. By clicking on the Part Number reference in the result list, the TEI "part one" report is displayed.
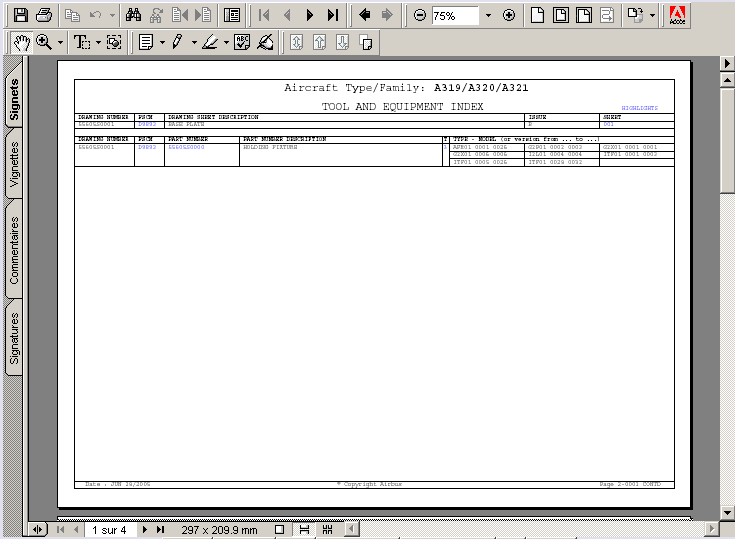
The TEI report contains links to navigate to the TEI "part two" or to the drawing set.
Principle
 |
 |
|
Main query area
|
Advanced query area
|
When you click on the search button and if the "Drawing Number" checkbox is checked, the first sheet of the drawing is displayed.
By clicking on the TEI option in the contextual area, the TEI "part two" report is displayed. The TEI report contains links to navigate in the TEI "part one" or in the drawing set.
Scope
The following elements are displayed:
The contextual area is updated according to the current drawing.
- The drawing number and its FSCM and the drawing title
- 4 options: Each option allows to switch and to access the selected document in the current Drawing Set.
- Pictures: Access to pictures
- Parts List: Access to the Parts List report
- TEI: Access to the Tool Equipment Index
- History: Access to the Drawing Set History (available for authorized users)
- The total number of sheets composing the current Drawing Set
The viewer options allows to perform actions on the displayed report: zoom in, zoom out, display of the next page, to print the document and so on. Annotations can be added without altering the original Airbus document.
| To view the results of a query |
Principle
You can perform an open search in the query area. You obtain a list of results (Drawing Number, Sheet or Part Number) that is displayed in the display area.
You obtain specific lists according to the type of reference you have entered.
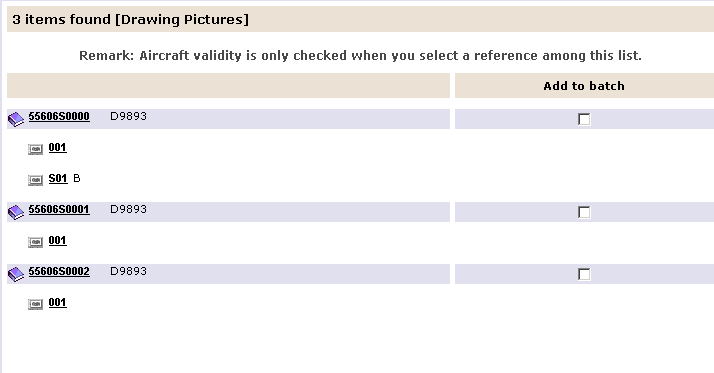
Remark: When too many results are found, only the first items are displayed. A message appears at the beginning of the list.
Scope:
The following elements are displayed:
This area is empty
If only a few drawings are found their numbers are displayed. Otherwise a message appears to inform the user that only the first items will be displayed.
Note: For each drawing that has been found, you can click on an 'Add to batch' option to include it in a batch list and ask the download option.
| The HISTORY option |
Principle
An "History" option allows authorized users to view the history of a drawing.

Scope:
The following elements are displayed:
The contextual area is updated according to the current drawing.
- The drawing number with its FSCM and the drawing title
- 4 options: Each option allows to switch and to access the selected document in the current Drawing Set.
- Pictures: Access to pictures
- Parts List: Access to the Parts List report
- TEI: Access to the TEI
- History: Access to the Drawing Set History (available for authorized users only)
- The total number of sheets composing the current Drawing Set
- Drawing issues and sheet issues are listed in descending order. Click on a sheet at a specific issue to display it.